How to Clean Kitchen Backsplash Tiles: A Complete Guide
This post may contain affiliate links which means I may receive commissions from purchases made through these links. These affiliate links come from companies such as Amazon. Learn more on my privacy policy page.
To clean kitchen backsplash, you’ll often need to do more than simply wipe grease and grime off your wall tiles. Often, the grease and grime might be very well settled or thick. In such cases, you can’t just wipe it away quickly; you need to use a special cleaning method to remove the stains effectively.
Cleaning your kitchen backsplash involves removing all the stains, dirt, and grease from your backsplash tiles—and from the grout that holds each tile together. This keeps your kitchen hygienic and prevents your tiles from deteriorating over time.
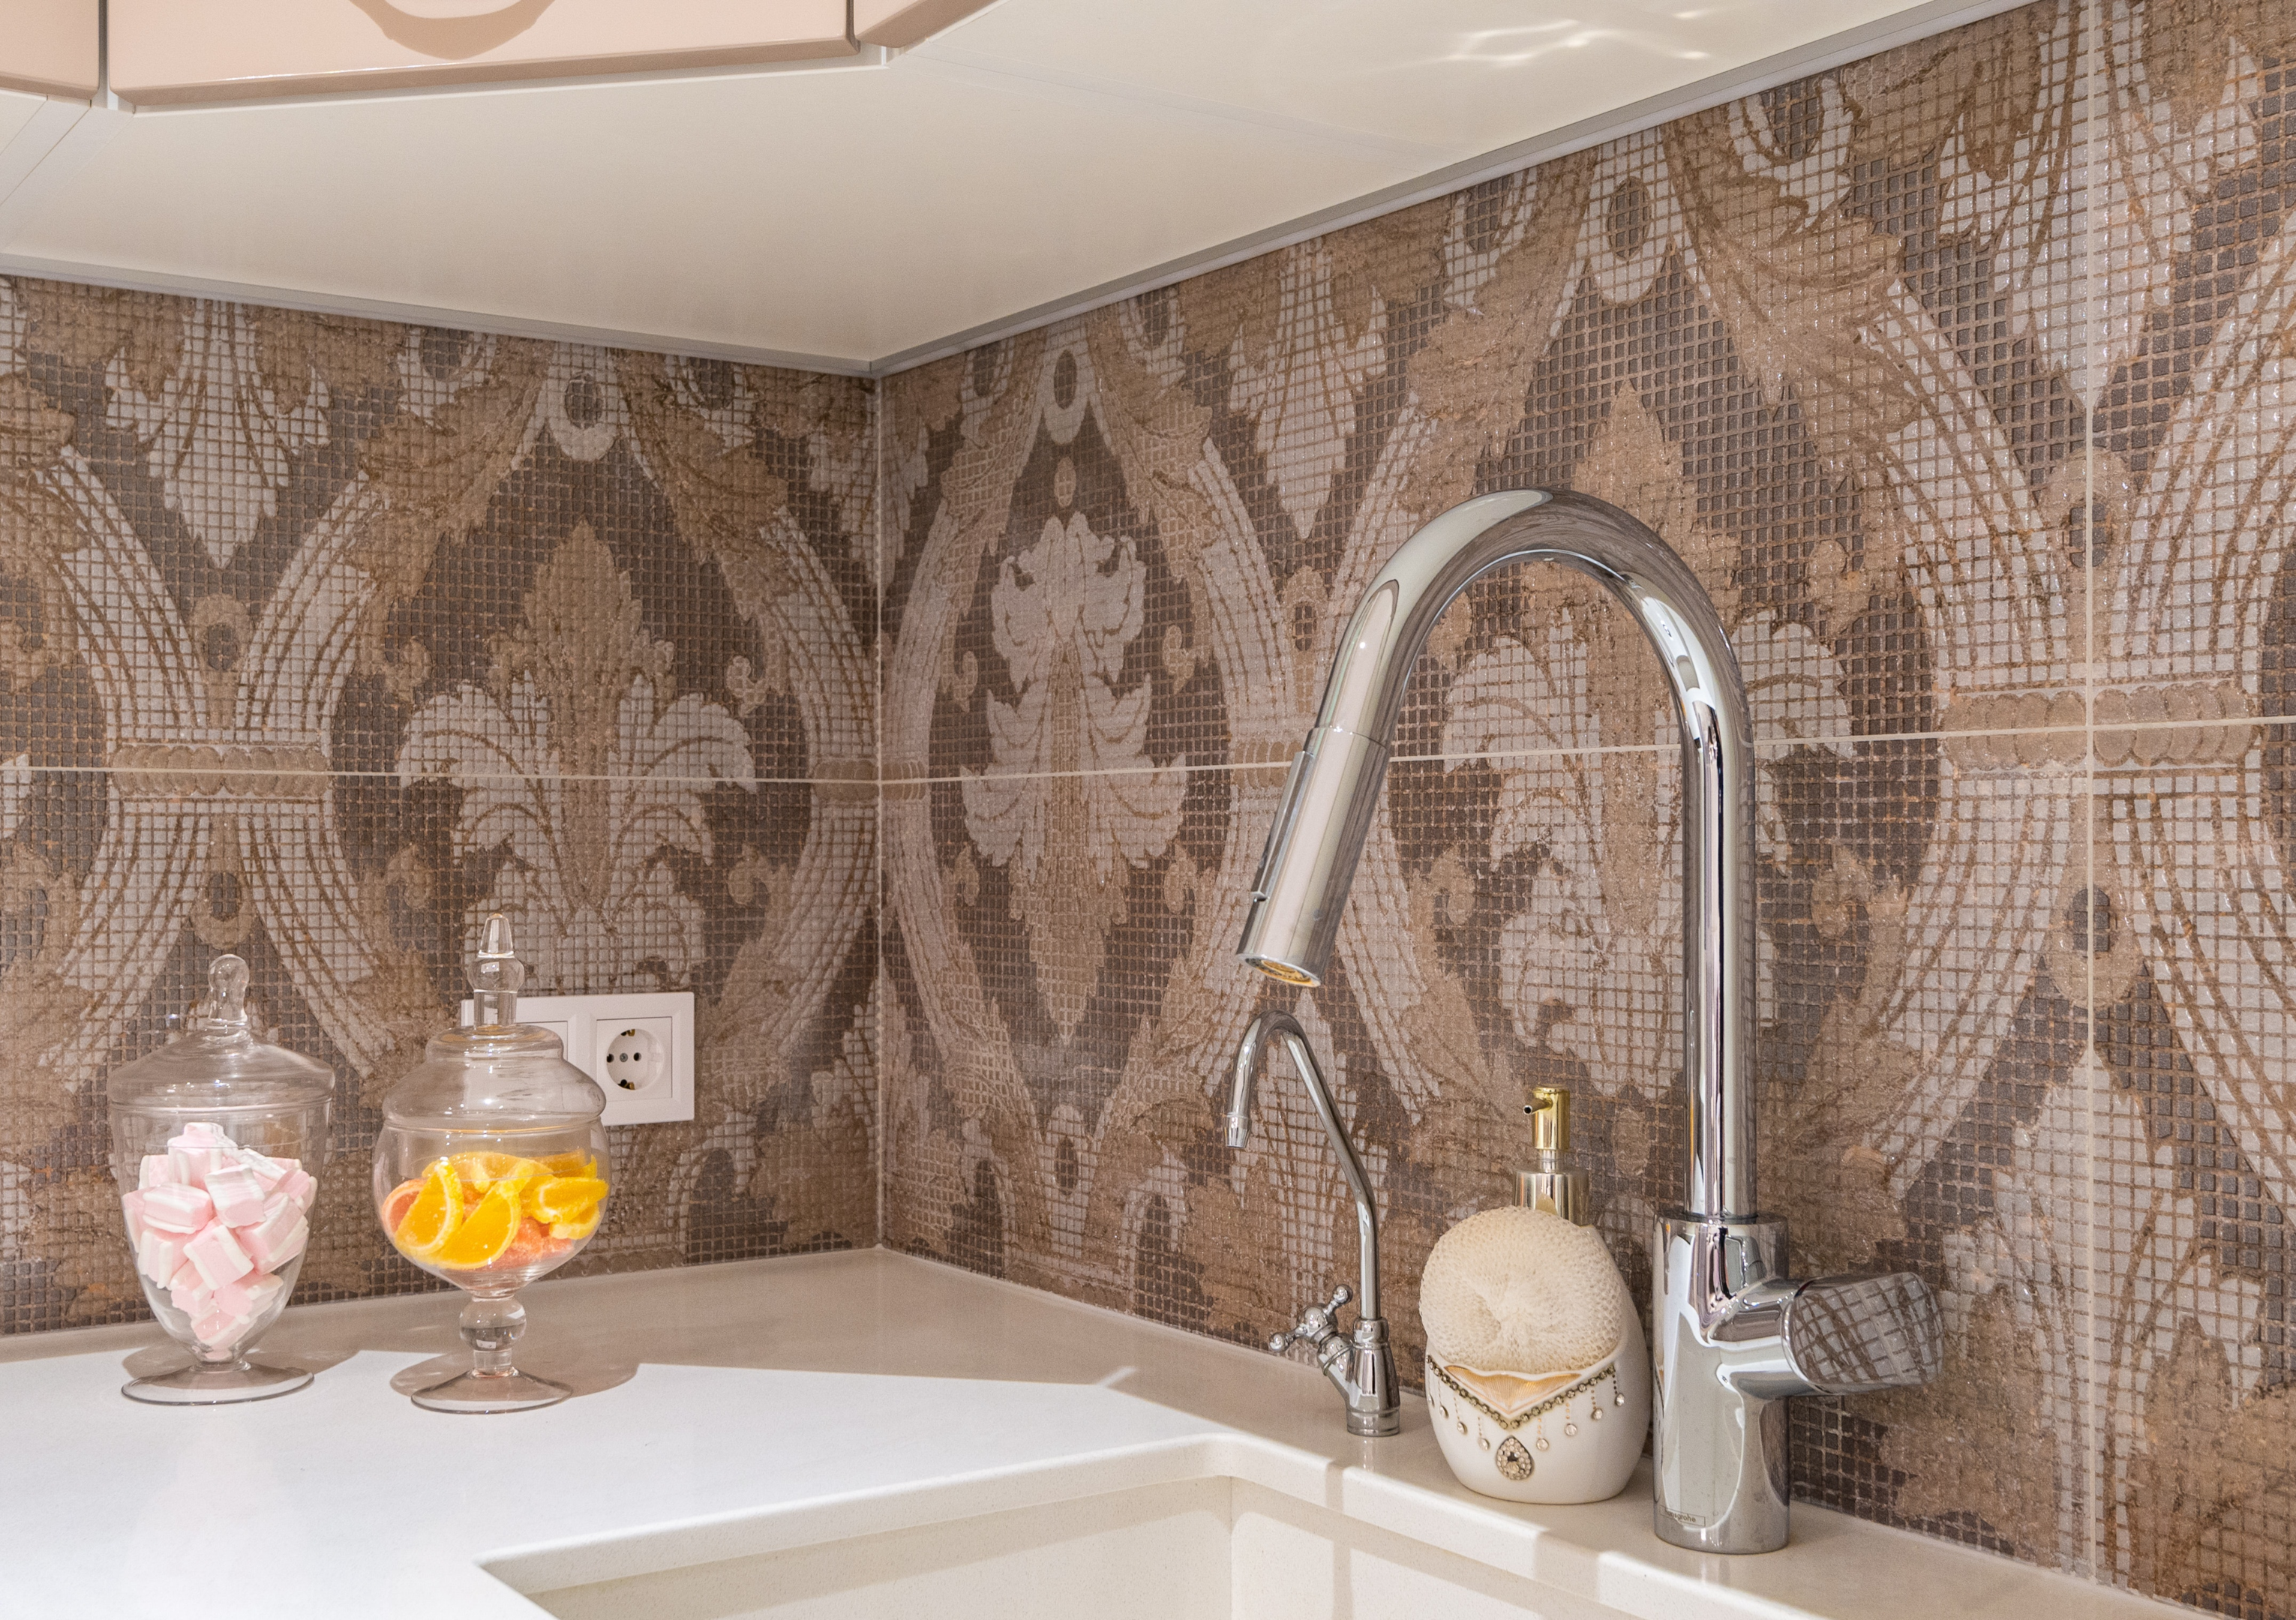
To carry out kitchen tile cleaning, you need to use the right cleaning products. Vinegar, degreasers, and baking soda are all used to remove backsplash stains from kitchen tiles, but one of the three products stands out from the rest.
You need an effective way to clean kitchen backsplash that is not only affordable but safe as well. Some products might be too abrasive for your kitchen tiles and could damage them. Other products, like soap and warm water, might be too weak to remove stubborn stains.
Your cleaning technique has an impact, too. If you clean with harsh cloths, you’ll scratch your tiling, and if you put in too little elbow grease, you’ll achieve nothing.
Cleaning your backsplash requires the right combination of cleaning products and techniques. Out of all the different products, from vinegar to store-bought degreasers, baking soda (bicarbonate of soda) is the ideal all-around solution when used in the right way.
In this article, you’ll learn how to remove the backsplash stains from behind your sink and stove. Getting it right is key, as it will protect your kitchen from bad hygiene and damage while transforming your area into a spotless culinary space.
Reasons You Should Know How to Clean Kitchen Backsplash
Maintain Hygiene
Regular cleaning removes food splatters, grease, and other contaminants, ensuring a clean and sanitary food preparation area, which is crucial for your family’s health.
Preserve Appearance
Cleaning prevents stains and discoloration, preserving the aesthetic appeal of your backsplash and the overall look of your kitchen.
Prolong Durability
Proper maintenance extends the lifespan of your backsplash materials, reducing the need for costly repairs or replacements.
Enhance Resale Value
A well-maintained kitchen with a clean backsplash can increase the resale value of your home and attract potential buyers.
Create a Pleasant Environment
A clean kitchen backsplash contributes to a pleasant and inviting cooking space, making meal preparation more enjoyable.
Prevent Mold and Mildew
Timely cleaning helps prevent the growth of mold and mildew in grout lines or on tiles, which can be harmful and challenging to remove once established.
Ease of Cooking
A clean backsplash provides a clutter-free and organized environment, making it easier and more efficient to prepare meals.
Saves Time and Effort
Regular cleaning reduces the need for intensive scrubbing or deep cleaning sessions, saving you time and effort in the long run.
Once you know why you should keep your kitchen tiles clean, In the next section, you need to learn how to do so properly.
Step-By-Step Instructions to Clean Kitchen Backsplash With Baking Soda
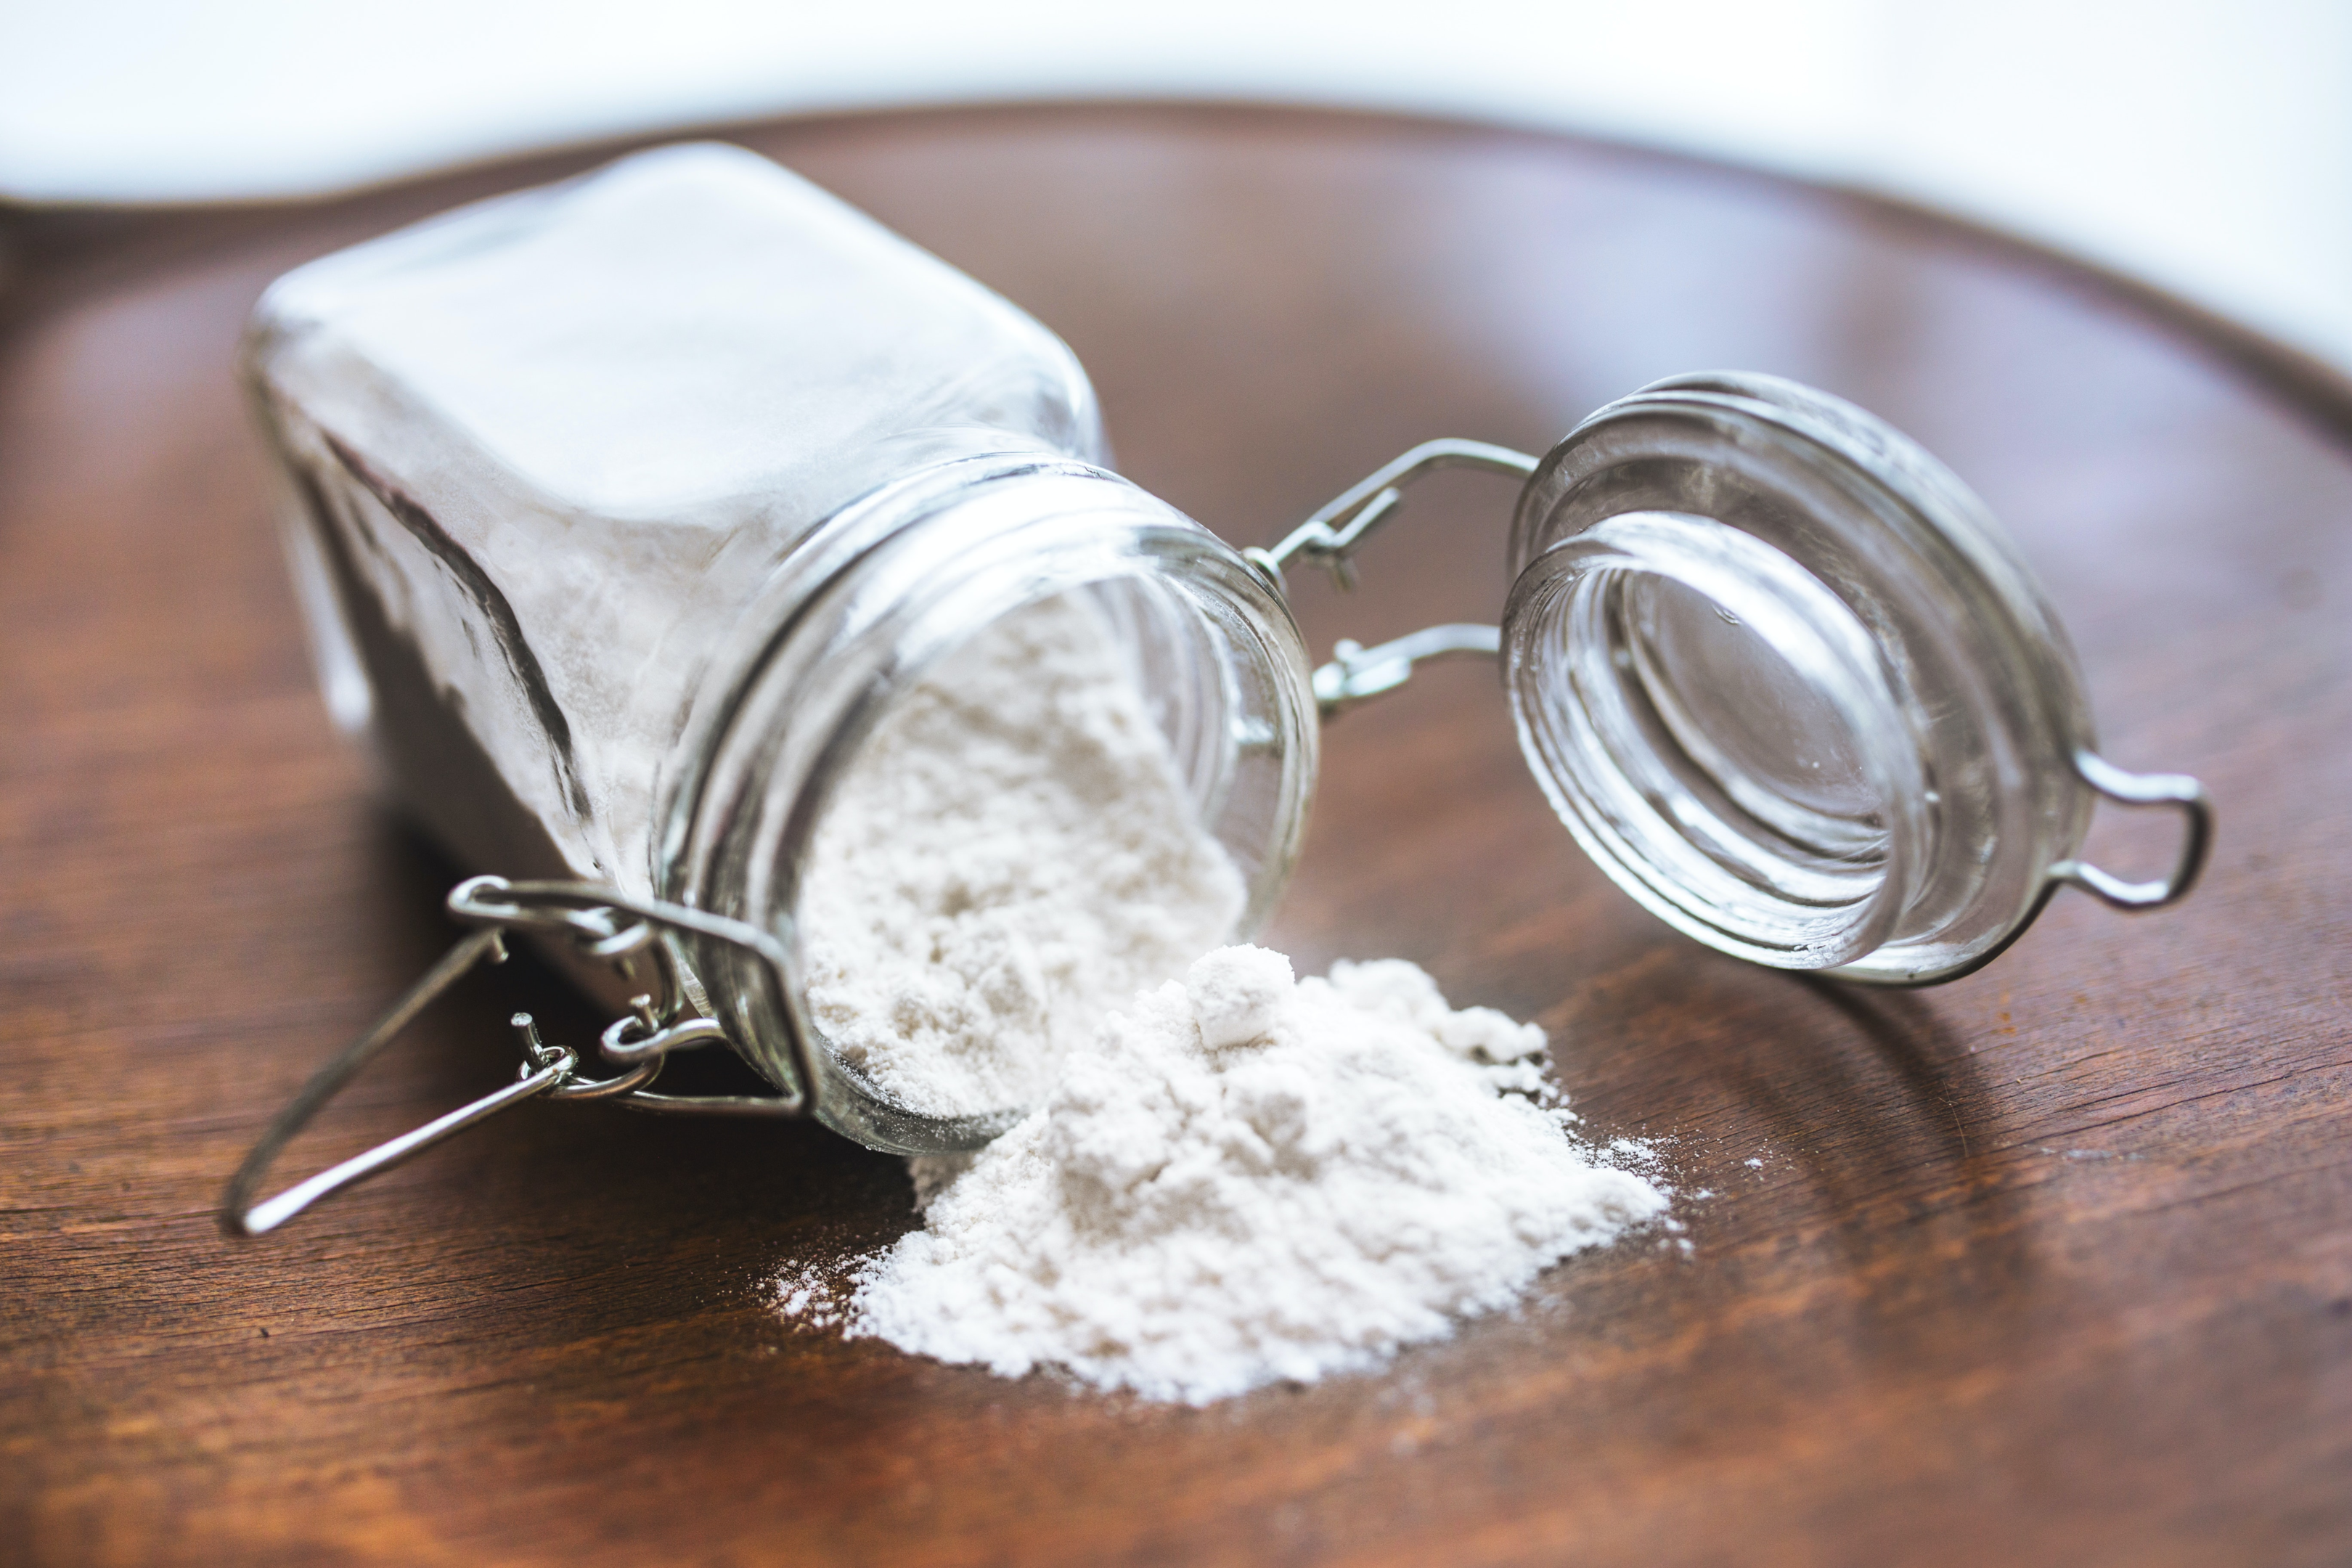
When it comes to cleaning with baking soda, some other guides recommend that you mix it with vinegar. By doing so, however, you risk making a harsher mixture that damages your kitchen tiles or grout.
Other guides also suggest making separate cleaning solutions: one for your tiles and a different one for your grout. But this is unnecessary and impractical, given that you can use baking soda to clean both your tiles and grout!
Baking Soda Advantages
- Unlike dishwashing soap, it is strong enough that it cleans off grease stains effectively.
- Unlike vinegar and some degreasers, it isn’t so abrasive that it damages your kitchen tiles.
- Since it is less abrasive, it keeps your tiles in good condition for longer, so you won’t have to replace them as quickly.
- It is cheaper than store-bought backsplash degreasers.
Bicarbonate of soda is, therefore, the ideal all-around solution for cleaning your kitchen tiles. The process to clean your backsplash using baking soda is as follows:
- Prepare a baking soda paste
- Test the paste on a small area
- Apply the paste to all areas of grease
- Wait for 10 minutes
- Remove the paste effectively
- Dry your backsplash tiles
- Repeat the process if necessary
How to Maintain a Clean Kitchen Backsplash
1) Prepare a Baking Soda Paste
First, add equal parts baking soda and water to a bowl (1/4 cup is a good place to start). Now gradually add drops of water or more baking soda until the consistency is that of a thick paste. If you need more mixture, you can add more baking soda and water as you need.
2) Test the Paste on a Small Area
Before you apply the paste to your backsplash, you should test it first on a small, less visible section of your kitchen tiling. Rub some paste gently onto the dirty areas of each backsplash tile, let it sit for 10 minutes, then gently wipe the paste off and dry the tile. If the tile looks undamaged, you’re good to go!
3) Apply the Paste to All Areas of Grease
Now start rubbing your paste onto all the grease spots and dirt; don’t cover every tile completely. When it comes to dirty grout lines, you can use a toothbrush to apply the paste more precisely.
4) Wait For 10 Minutes
Now, wait for 10 minutes while your paste soaks into the grease. If possible, refrain from cooking hot food, opening windows, or otherwise significantly changing the atmosphere of your kitchen during this time.
5) Remove the Paste Effectively
After 10 minutes are up, use a sponge or damp cloth to gently scrub the paste off (and the grease and grime along with it!). Again, you might need a toothbrush to help you remove your paste from the grout lines. Once done, you can use a clean cloth to get rid of any remaining residue.
6) Dry Your Backsplash Tiles
Now dry your tiles and grout thoroughly—you can do this using a dish towel or paper towel.
7) Repeat the Process if Necessary
For stubborn greasy spots, you might need to repeat the same process once or twice more. This may make it sound as though baking soda doesn’t work effectively, but that’s far from the case. Other backsplash cleaning products—even store-bought degreasers—sometimes require repeat applications as well.
Key Considerations For Successfully Maintaining Clean Kitchen Backsplash With Baking Soda
After removing the bicarbonate of soda paste, you need to dry your tiles and grout with a dish towel or paper towel at the end. This is especially important for grout, which is porous, and porous tiles like natural stone. If left to soak up moisture, these tile materials can weaken significantly over time.
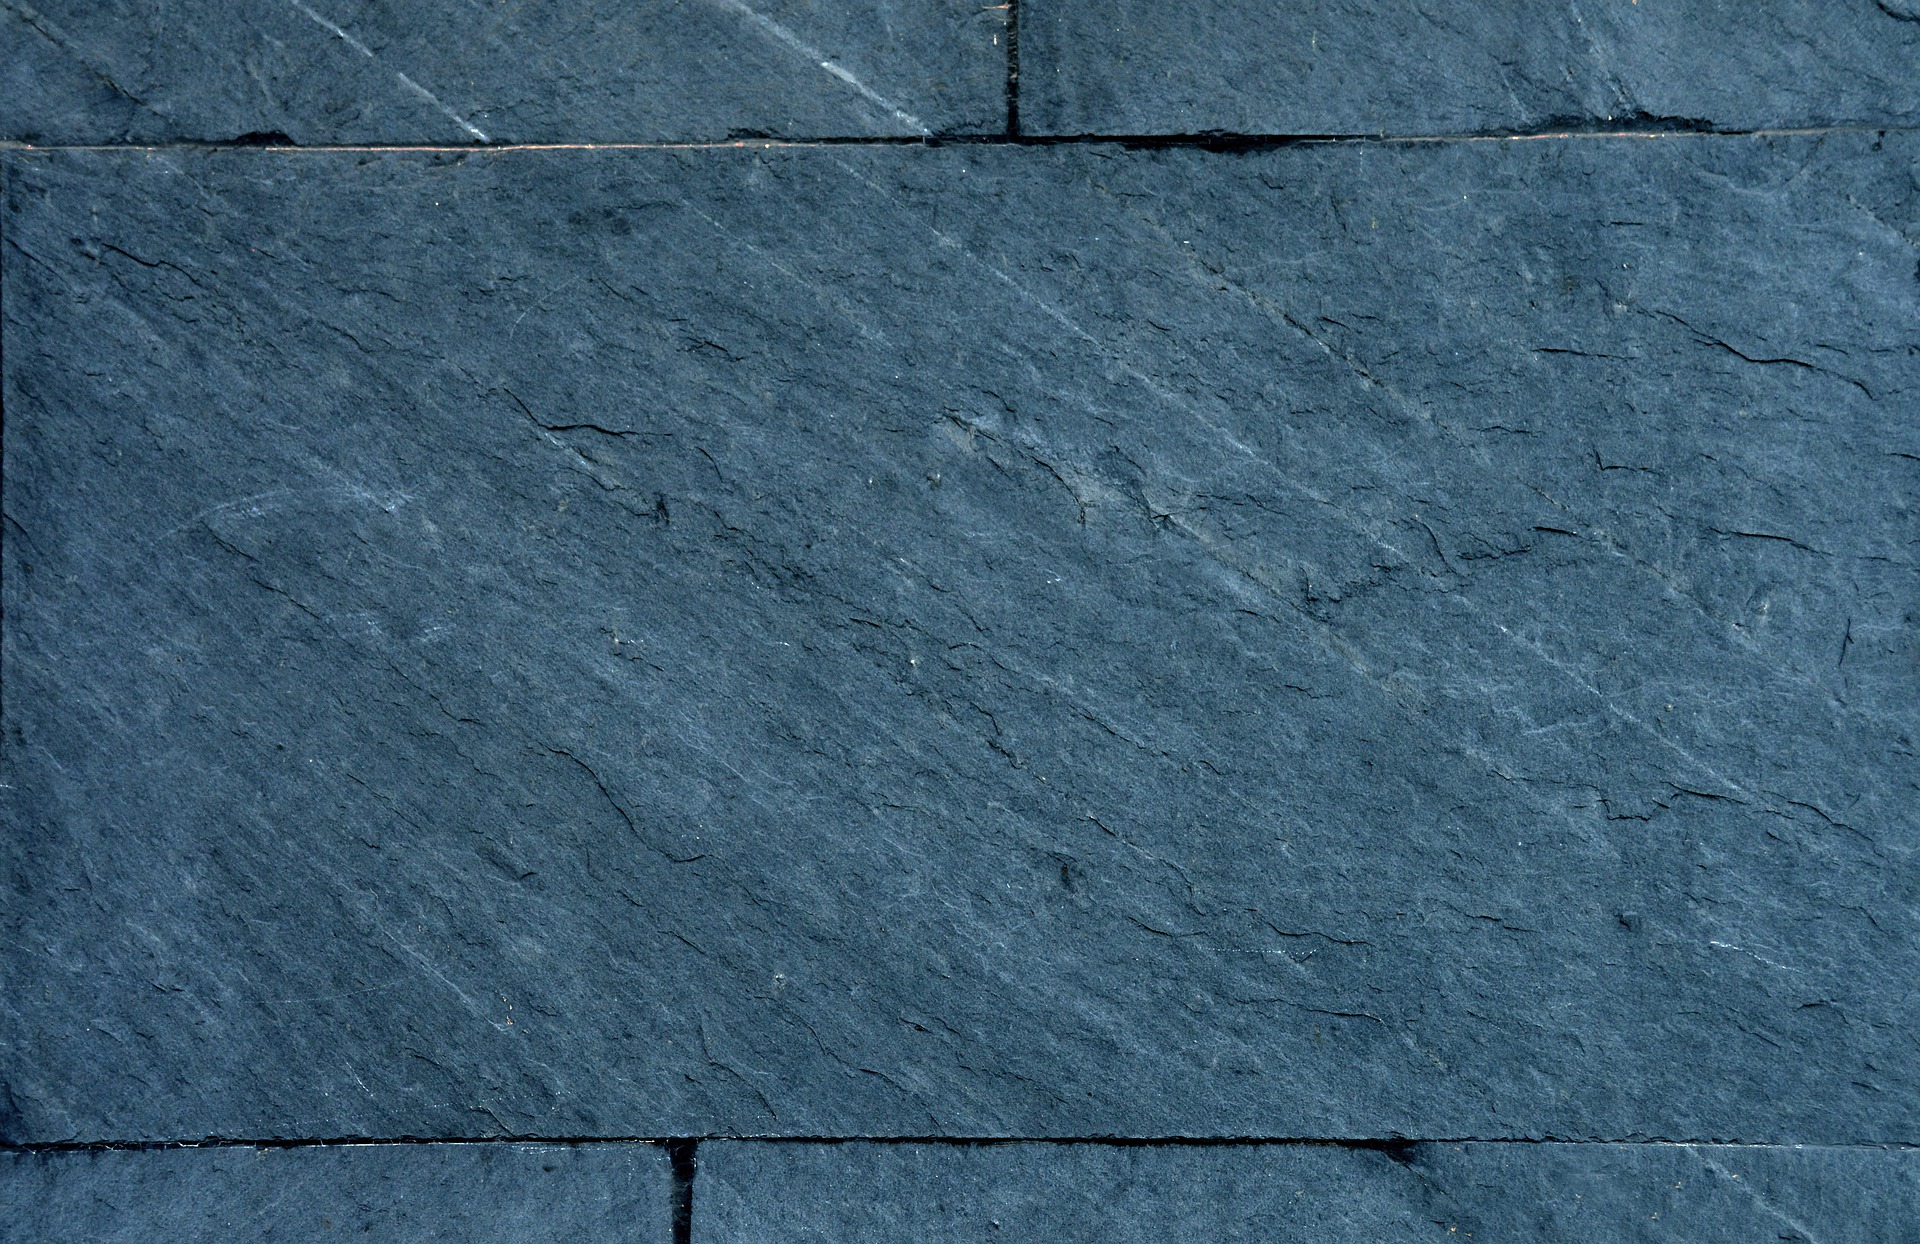
Also, you may need to adapt your cleaning technique for natural stone tiles. Baking soda works well on natural stone, provided that you make an effort to rub it into the uneven, rough grooves of the stone’s surface. Since natural stone is sensitive, you should then use a non-abrasive cloth to gently scrub the paste off.
Finally, whether you’re cleaning with baking soda or something else: always keep an eye out for mold during cleaning, particularly in grout lines. If you can spot mold early on, you’ll be able to take the necessary steps to remove it, before it has the chance to spread and permanently damage your backsplash.
Taking It to the Next Nevel: How to Seal Your Grout Lines and Tiles
You can make backsplash cleaning even easier by coating your grout with sealant. The sealant acts as a protective coating on grout, preventing moisture and grime from sticking and sinking in. As a result, you can wipe away surface grease and grime more easily and your grout is less likely to weaken over time.
General Steps of How to Apply Sealant to Keep Clean Kitchen Backsplash Tiles
- Ensure your backsplash tiles and grout are clean and dry.
- Apply the sealant to the grout lines.
- Remove any excess sealant that lands on your tiles.
- Leave the sealant to soak in as per the manufacturer’s instructions.
- Test a sealed area with a drop of water. Apply more sealant if the water isn’t repelled.
- Ideally, you should repeat this process on a yearly basis.
You can buy backsplash sealants at hardware stores and add the sealant directly to some types of kitchen tile, too. Natural stones like granite and slate, for instance, can be coated with invisible sealants; these help the tiles repel water and make it easier for you to remove grease spots. Make sure to check that a sealant is compatible with your type of backsplash tile first!
Clean Kitchen Backsplash Alternatives to Baking Soda
Although baking soda is highly effective, there are other products you can clean tile backsplash with, too. These are degreasers, vinegar, and soapy water.
Vinegar is a powerful cleaner. In a spray bottle, mix equal parts white vinegar and warm water (plus a little lemon juice if you wish). Next, spray the mixture onto areas of grease, then rinse it off without waiting. Disclaimer: Don’t use this solution for sensitive materials like natural stone.
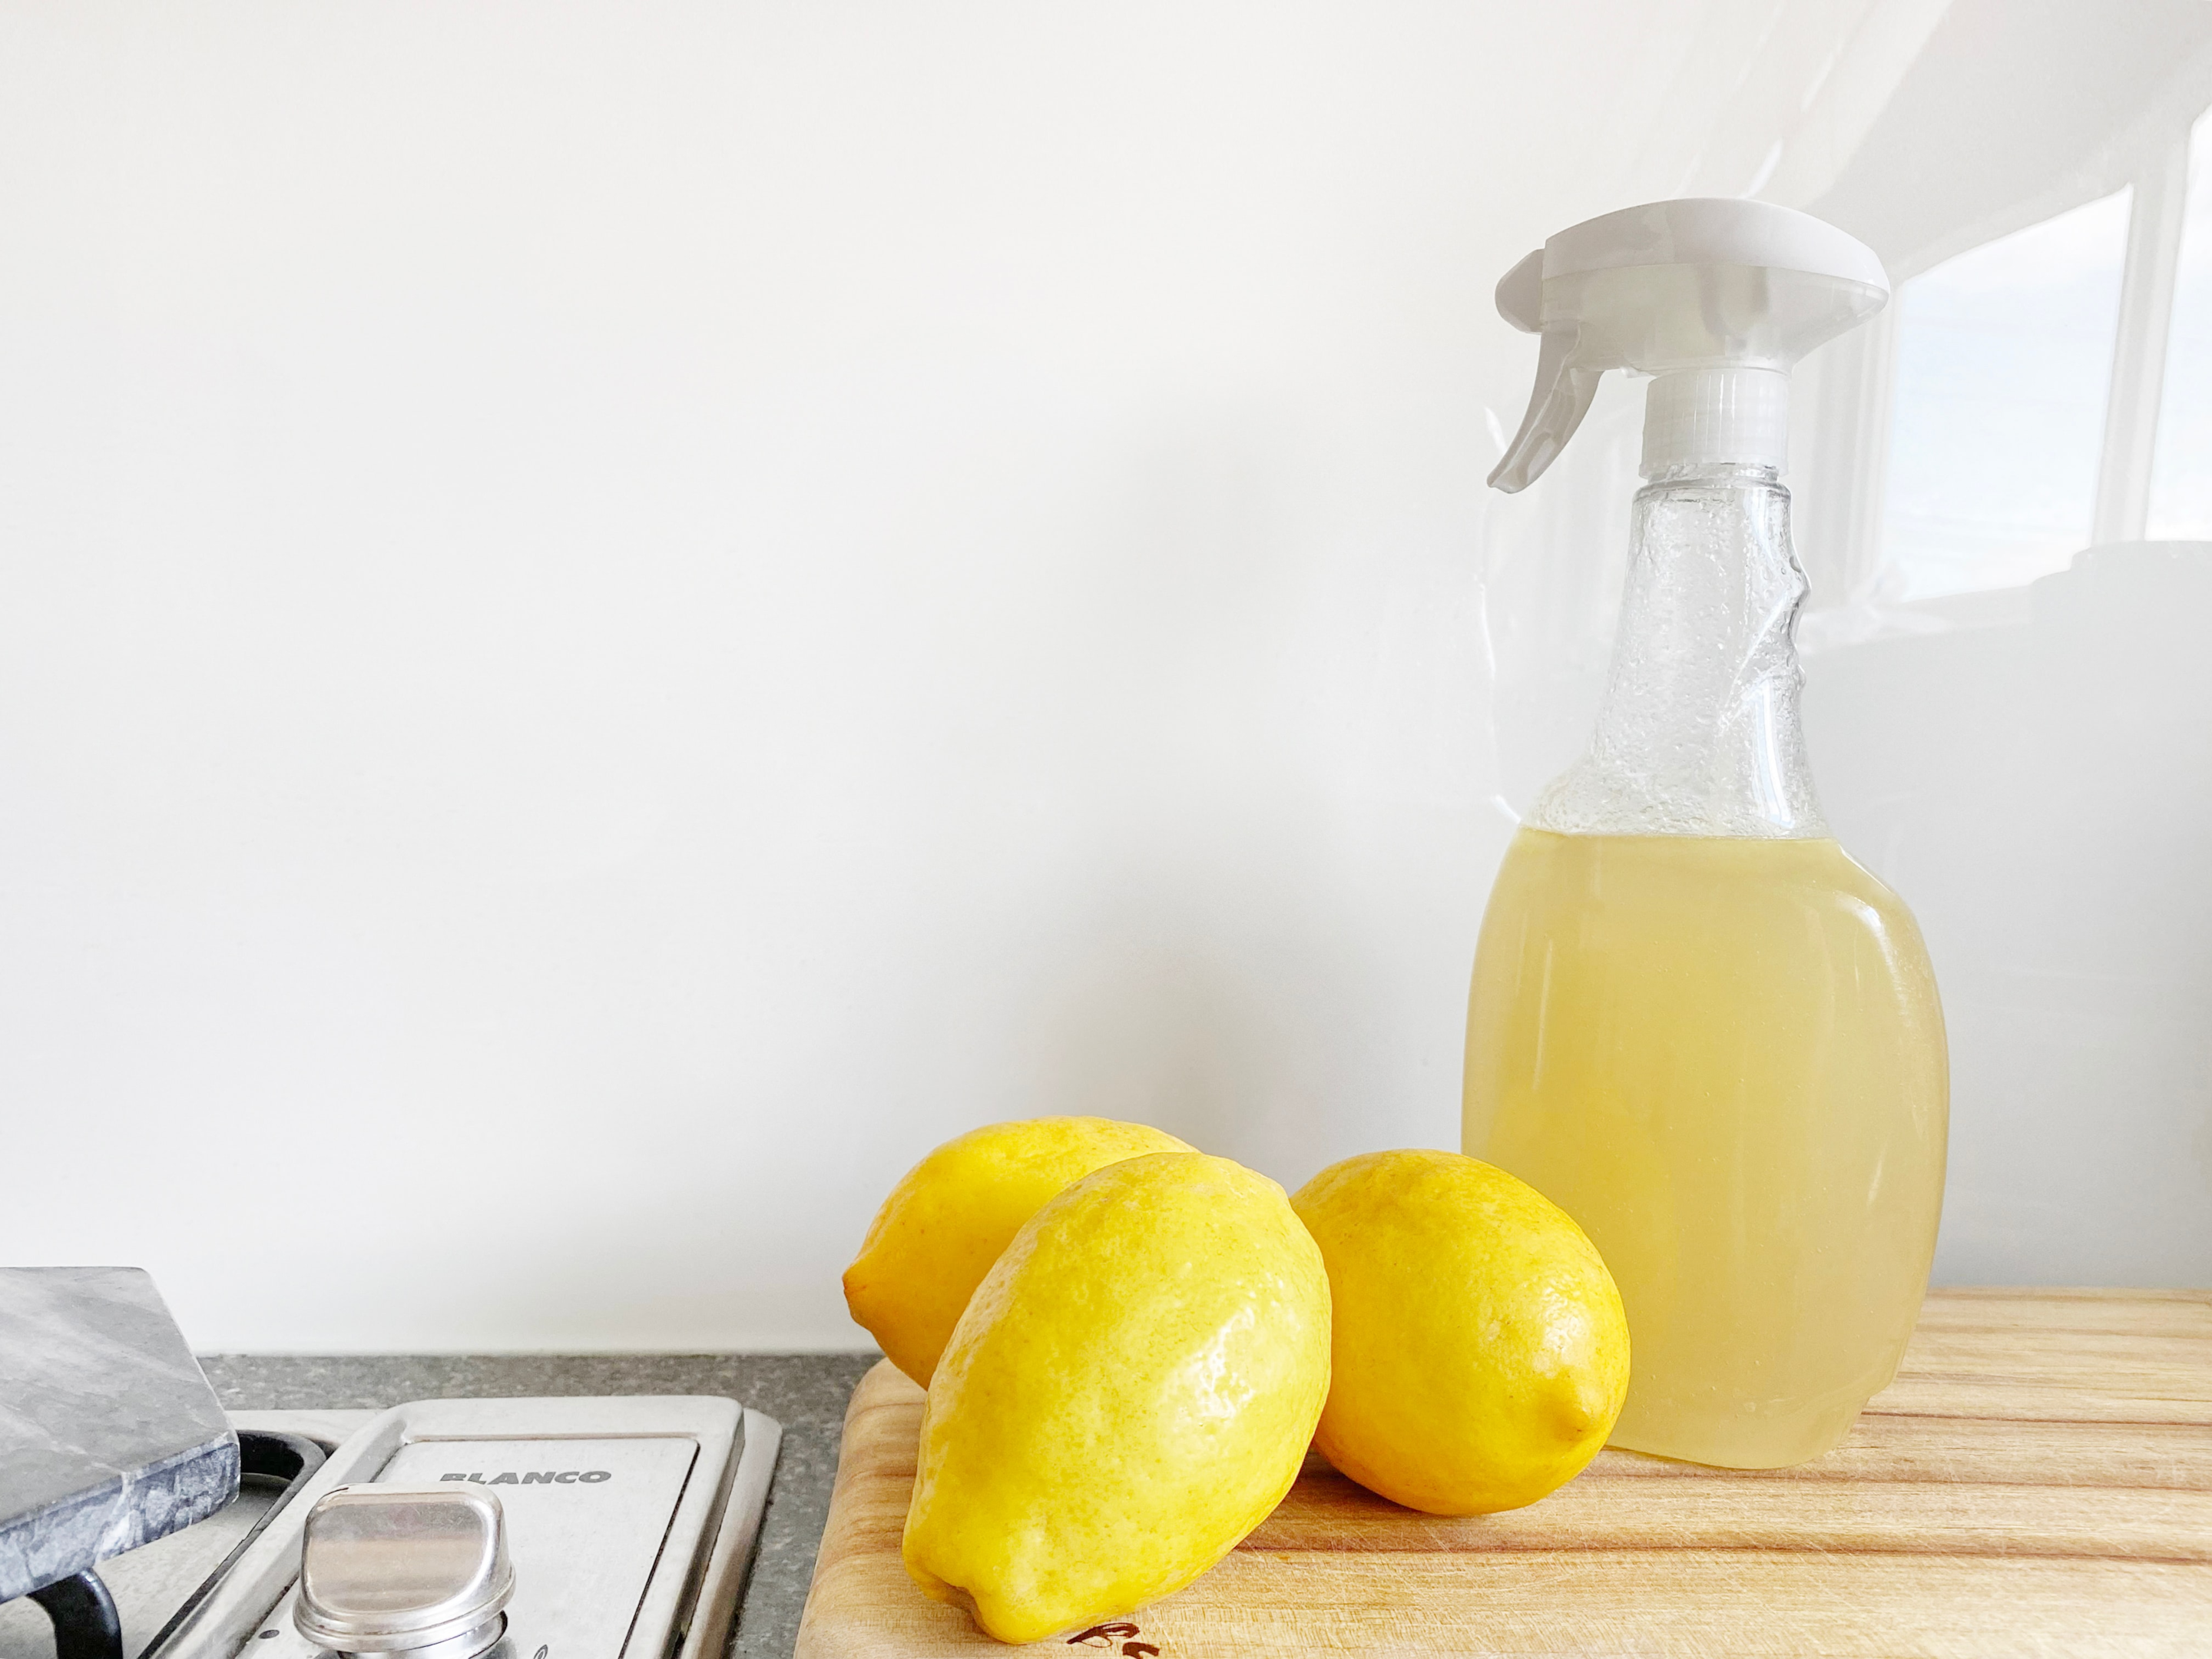
Store-bought degreasers are also powerful. Before first use, read the labeling to check that the degreaser is compatible with your type of kitchen backsplash tile. Then, test the degreaser on a small area of your tiling. Next, if all is clear, follow the manufacturer’s cleaning instructions.
Finally, for quick, routine cleaning, you can use dishwashing soap and warm water. Make some soapy water, apply it to areas of grease (manually or via a spray bottle), let it sit for a few minutes, then wipe it off with a damp cloth. Since it’s so easy, this is a method you can use in your everyday routine. Remember, however, that you’ll also need to do deep cleaning regularly with baking soda, too!
In Conclusion
There are many factors to consider when keeping a clean kitchen backsplash. If you use a cleaning product that’s too harsh, or you scrub too harshly, your kitchen tiles will be damaged. Go for an overly cleaning mild product, meanwhile, or employ too little elbow grease, and the stains on your backsplash won’t go away.
This post taught you how to clean your backsplash tiles safely and effectively. Via a step-by-step guide, you learned how to clean them using baking soda, one of the most effective ways of removing stains from tiles and grout. This article is worth bookmarking for anyone who wants to keep their backsplash in good condition and clean!

